|
|
|
|
 Ironclads and Big Guns of the Confederacy : The Journal and Letters of John M. Brooke Information about the Confederate Navy's effort to supply its fledgling forces, the wartime diaries and letters of John M. Brooke tell the neglected story of the Confederate naval ordnance office, its innovations, and its strategic vision. |

Kindle Available Civil War Curiosities: Strange Stories, Oddities, Events, and Coincidences |
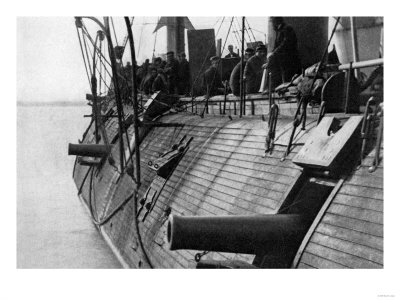
Uss Galena Ironclad 24 in. x 18 in. Buy at AllPosters.com Framed Mounted |
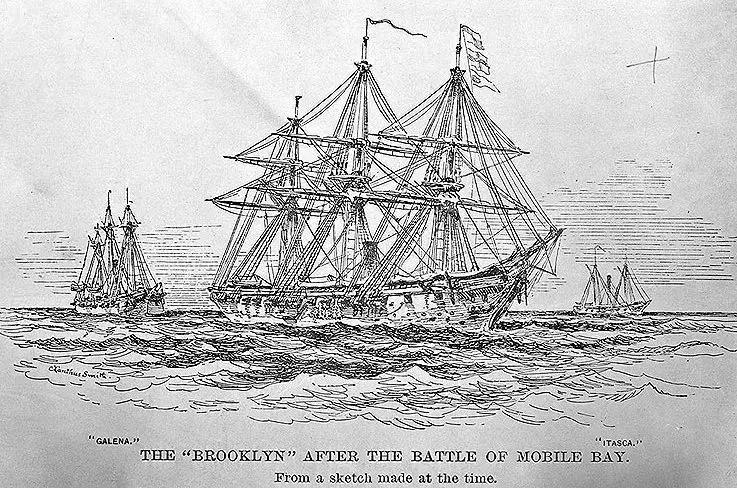
USS Brooklyn inside Mobile Bay after the action"from a sketch made at the time", showing some of her battle damage.
|
Kindle Available Reign of Iron: The Story of the First Battling Ironclads, the Monitor and the Merrimack The first ironclad ships to fight each other, the Monitor and the Virginia (Merrimack), were the unique products of American design genius |
Battle at Mobile Bay
Alabama State Battle Map
State Battle Maps
Ships and Naval Battles
American Civil War Exhibits
Women in the War
Campaigns of the Civil War
Civil War Picture Album
Civil War Submarines
Kindle Available Confederate Ironclad vs Union Ironclad: Hampton Roads 1862 The Ironclad was a revolutionary weapon of war. Although iron was used for protection in the Far East during the 16th century, it was the 19th century and the American Civil War that heralded the first modern armored self-propelled warships. Release date Nov. 2008 |
 Year on a Monitor and the Destruction of Fort Sumter Personal view of the Civil War Navy. The monitor saw action in several significant naval assaults by the Union's Squadron. It took part in the failed Federal attack on Sumter in April 1863. The "Nahant" also participated in the capture of the Confederate Ram "Atlanta," and in the assault on Fort Wagner |
 Blockaders, Refugees, and Contrabands: Civil War on Florida'S Gulf Coast, 1861-1865 Coastal Florida had a refugee crisis as the war progressed. Escaped slaves ("contrabands") sought out the blockaders. Some joined the U.S. Navy. White men and their families sought to avoid conscription or vengeful neighbors/regulators and eventually sought refuge with the blockaders |
 War, Technology, and Experience aboard the USS Monitor The experience of the men aboard the Monitor and their reactions to the thrills and dangers that accompanied the new machine. The invention surrounded men with iron and threatened their heroism, their self-image as warriors, even their lives |
Kindle Available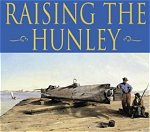 Raising the Hunley: The Remarkable History and Recovery of the Lost Confederate Submarine For more than a century the fate of the Hunley remained one of the great unsolved mysteries of the Civil War. Then, on August 8, 2000, with thousands of spectators crowding Charleston Harbor, the Hunley was raised from the bottom of the sea and towed ashore. |
 The Story of the H.L. Hunley During the Civil War, Union forces blockade the port of Charleston so the Confederate army seeks a way to attrack the Yankee Ships. George Dixon is part of the group of men given the task of creating and building the "fish boat," a submarine. The H.L. Hunley ultimately sets out on its mission to sink Yankee ships, but fails to return, its whereabouts unknown. |
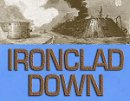 Ironclad Down: USS Merrimack-CSS Virginia from Design to Destruction A treasure trove of detailed information about one of history s most famous vessels. Describing Stephen Russell Mallory, John Mercer Brooke, John Luke Porter, et al.--who conceived, designed and built one of the world's first ironclads |
 American Civil War Fortifications Coastal Brick and Stone Forts The design, construction and operational history of fortifications, such as Fort Sumter, Fort Morgan and Fort Pulaski. Stone and brick forts stretched from New England to the Florida Keys, and as far as the Mississippi River. A handful of key sites remained in Union hands throughout the war, the remainder had to be won back through bombardment or assault. |
Sources:
U.S. National Park Service
U.S. Library of Congress
U.S. Naval Archives
|
Books Civil War Womens Subjects Young Readers Military History DVDs Confederate Store Civil War Games Music CDs Reenactors |